How To Get Started With Inking
Ink is a very versatile and expressive medium, but it’s also one of the most difficult to master. Working with ink can be incredibly frustrating; all it takes is one small mistake to ruin a perfectly good drawing, and when you do make a mistake it’s usually hard to correct.
Inking can also be incredibly rewarding - there’s nothing quite like putting the finishing touches to a nice ink drawing. It’s also easy to get started, the tools are relatively cheap, and there’s relatively little needed in terms of preparation and cleaning.
In the following series of posts I will show you how to get started with inking. I will also share some my best tips and the most embarrassing mistakes I’ve made while experimenting with the Black Arts. In this first post I’ll review the tools you need to get started.
Tools
When it comes to inking there are three primary tools to choose from:
- Fine-point pens (a.k.a. multiliners, fineliners or technical pens)
- Brushes
- Nib pens (a.k.a. crowquill pens)
Which one you use is mainly a matter of preference - you can also mix and match depending on what results you’re after.
Fine-point pens
A fine-point pen resembles your everyday ballpoint pen with the exception that the ink is delivered through a small metal or plastic tube. This means you have to apply less pressure than with a ballpoint pen, which gives you more control over your lines.
Fine-point pens are easy to use and less messy than crow quill pens or brushes, which make them ideal for beginners. The main drawback of this tool is that you can’t vary your line weight the same way you can with a brush or nib - if you want a thicker line you have to switch to a bigger pen. We will get to why line weight matters later, but for now just trust me when I say that it does.
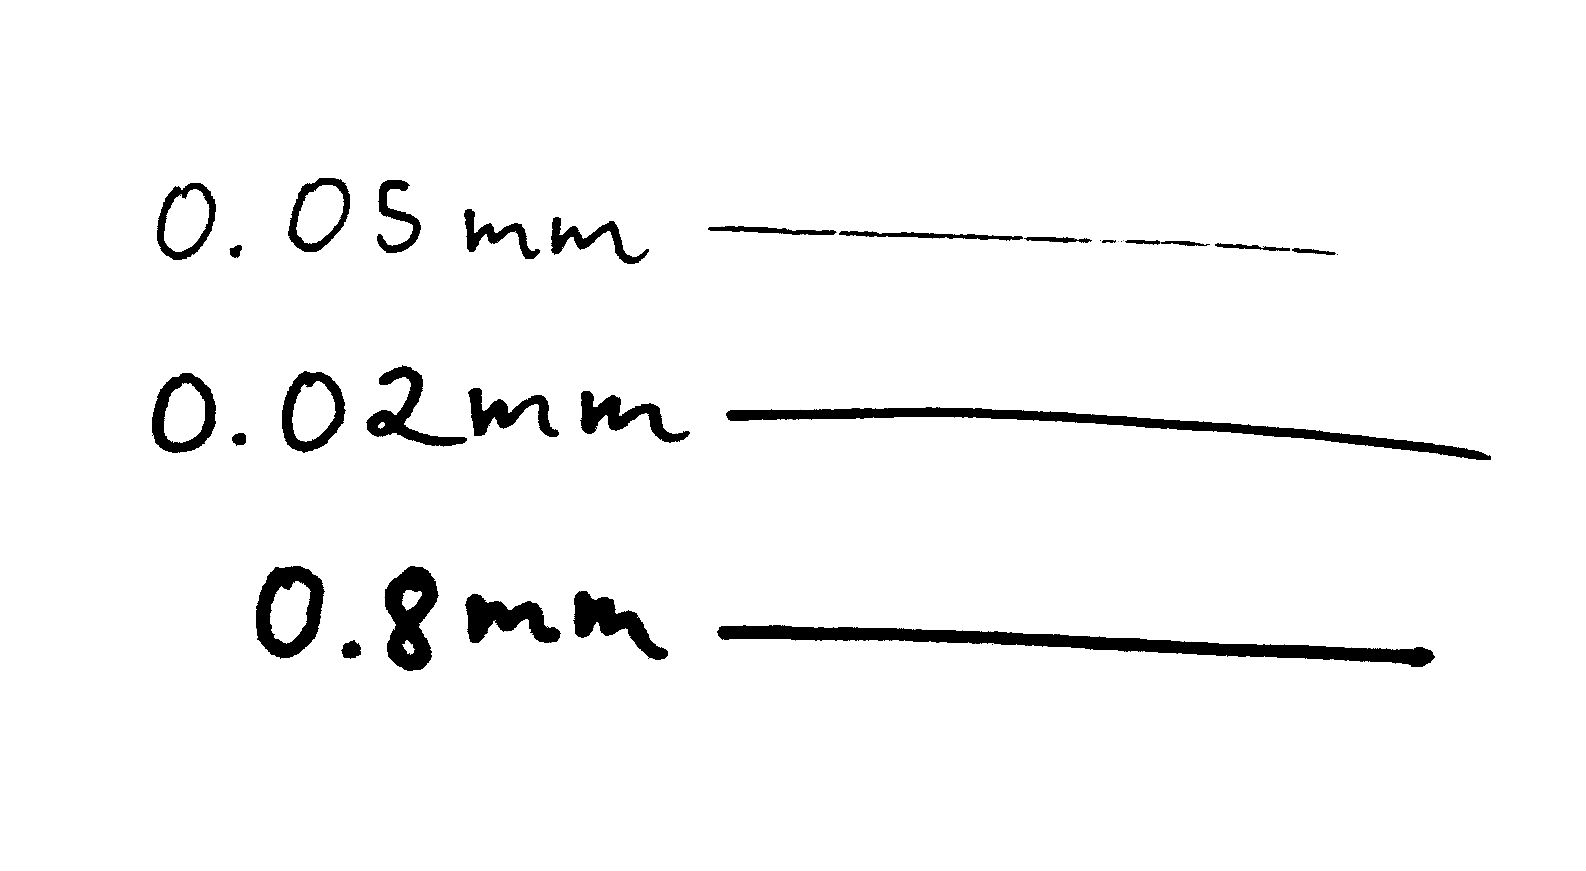 Pen tip size controls line weight
If you decide to go with fine-point pens, make sure you get some different thicknesses - 0.1mm, 0.3mm and 0.5mm should be a good start. Some manufacturers sell sets of pens in different sizes at a discounted price, so be on the lookout for those if you’re just starting out.
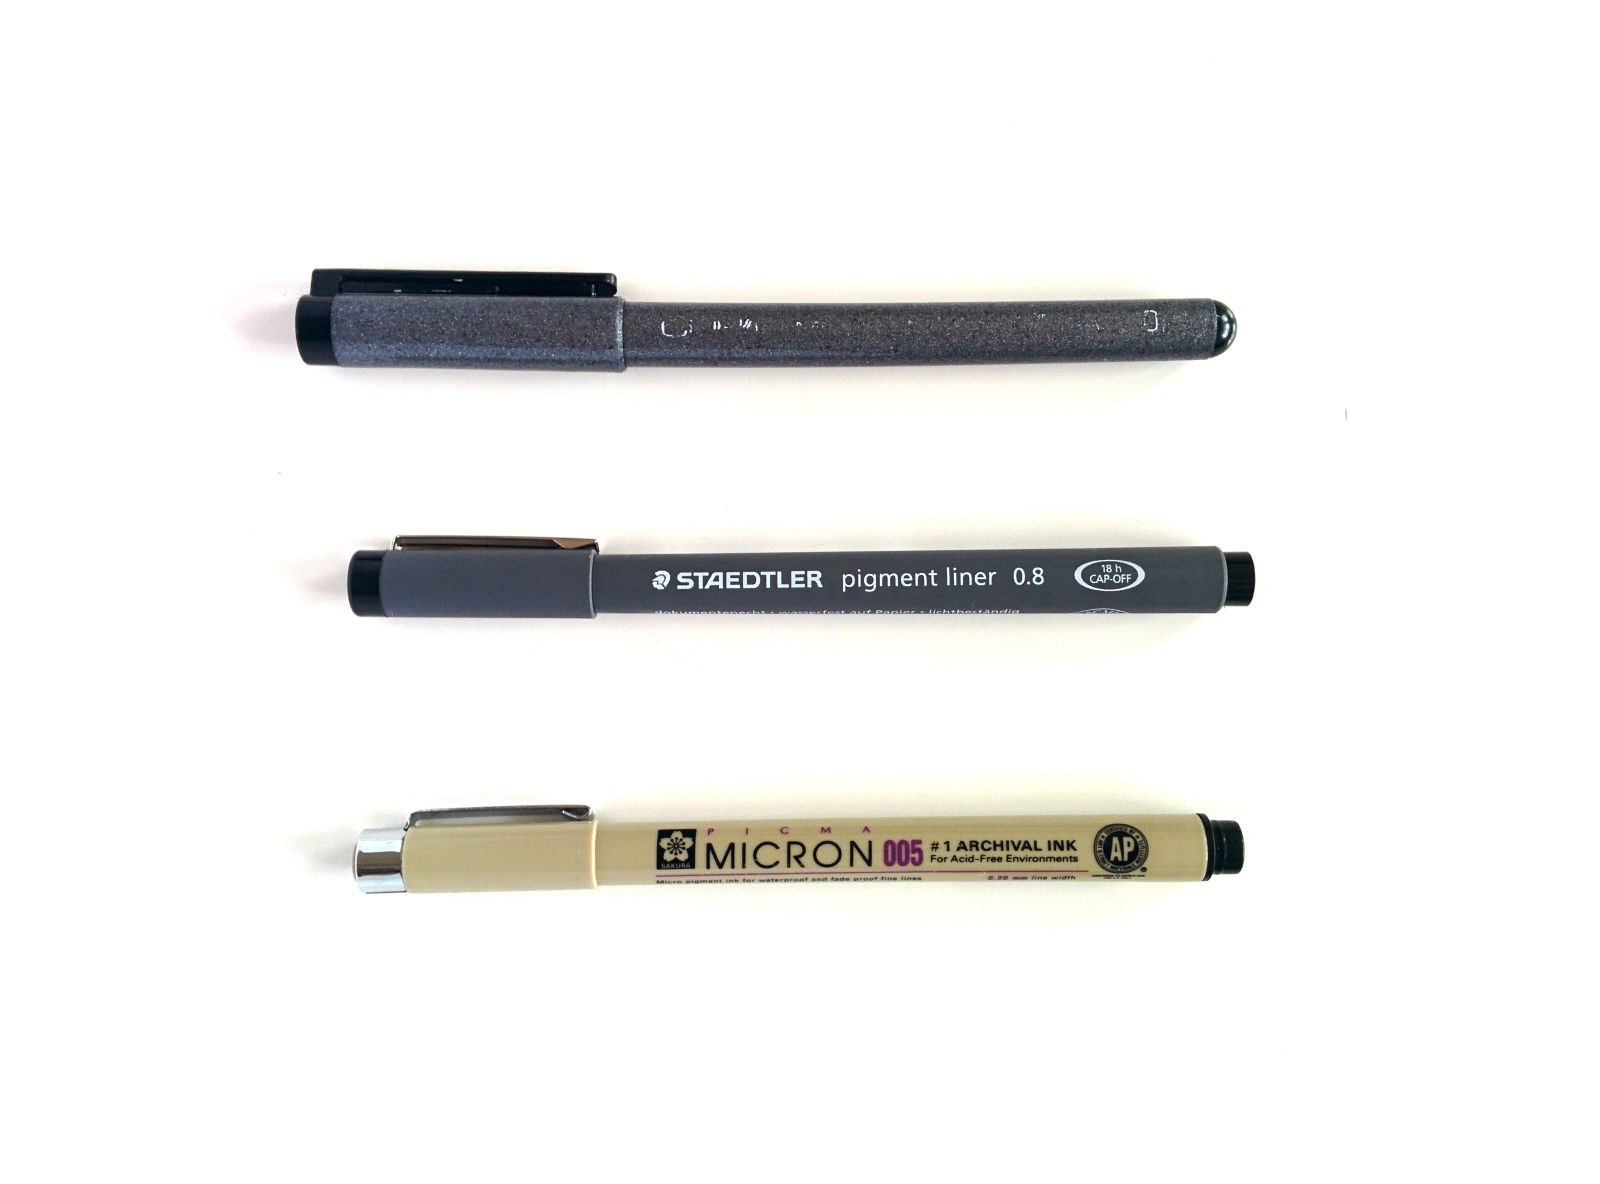 Copic Multiliner, Staedler Pigment Liner and Sakura Pigma Micron - all
good alternatives
Copic Multiliner, Staedler Pigment Liner and Sakura Pigma Micron - all
good alternatives
Crow-quill pens
If you’re feeling a bit more adventurous you can go for a crow-quill pen. This pen consists of a shaft with a detachable nib, which is the star of the show.
The type of line you get depends primarily on the shape and the firmness of the nib: By applying more pressure you can make a thicker line - a softer nib gives you more line weight variation, while a firmer nib gives you a more uniform line.
 Increasing pressure on the nib gives a heavier line
The main drawback of a crow-quill pen is that you have to dip it in an inkwell quite frequently. It requires even more dipping than a brush since the pen deposits more ink on the page. This also means that you might occasionally have to wait for your lines to dry before you can work over them, in order for them not to to smear.
When buying nibs for drawing, make sure you don’t get calligraphy nibs - a calligraphy (or “italic”) nib has a flat, blunt tip, which gives you either a very thin or thick stroke depending on direction, but nothing in between. A drawing nib has a pointy tip that’s split in two - as you apply pressure the gap widens, yielding a thicker line.
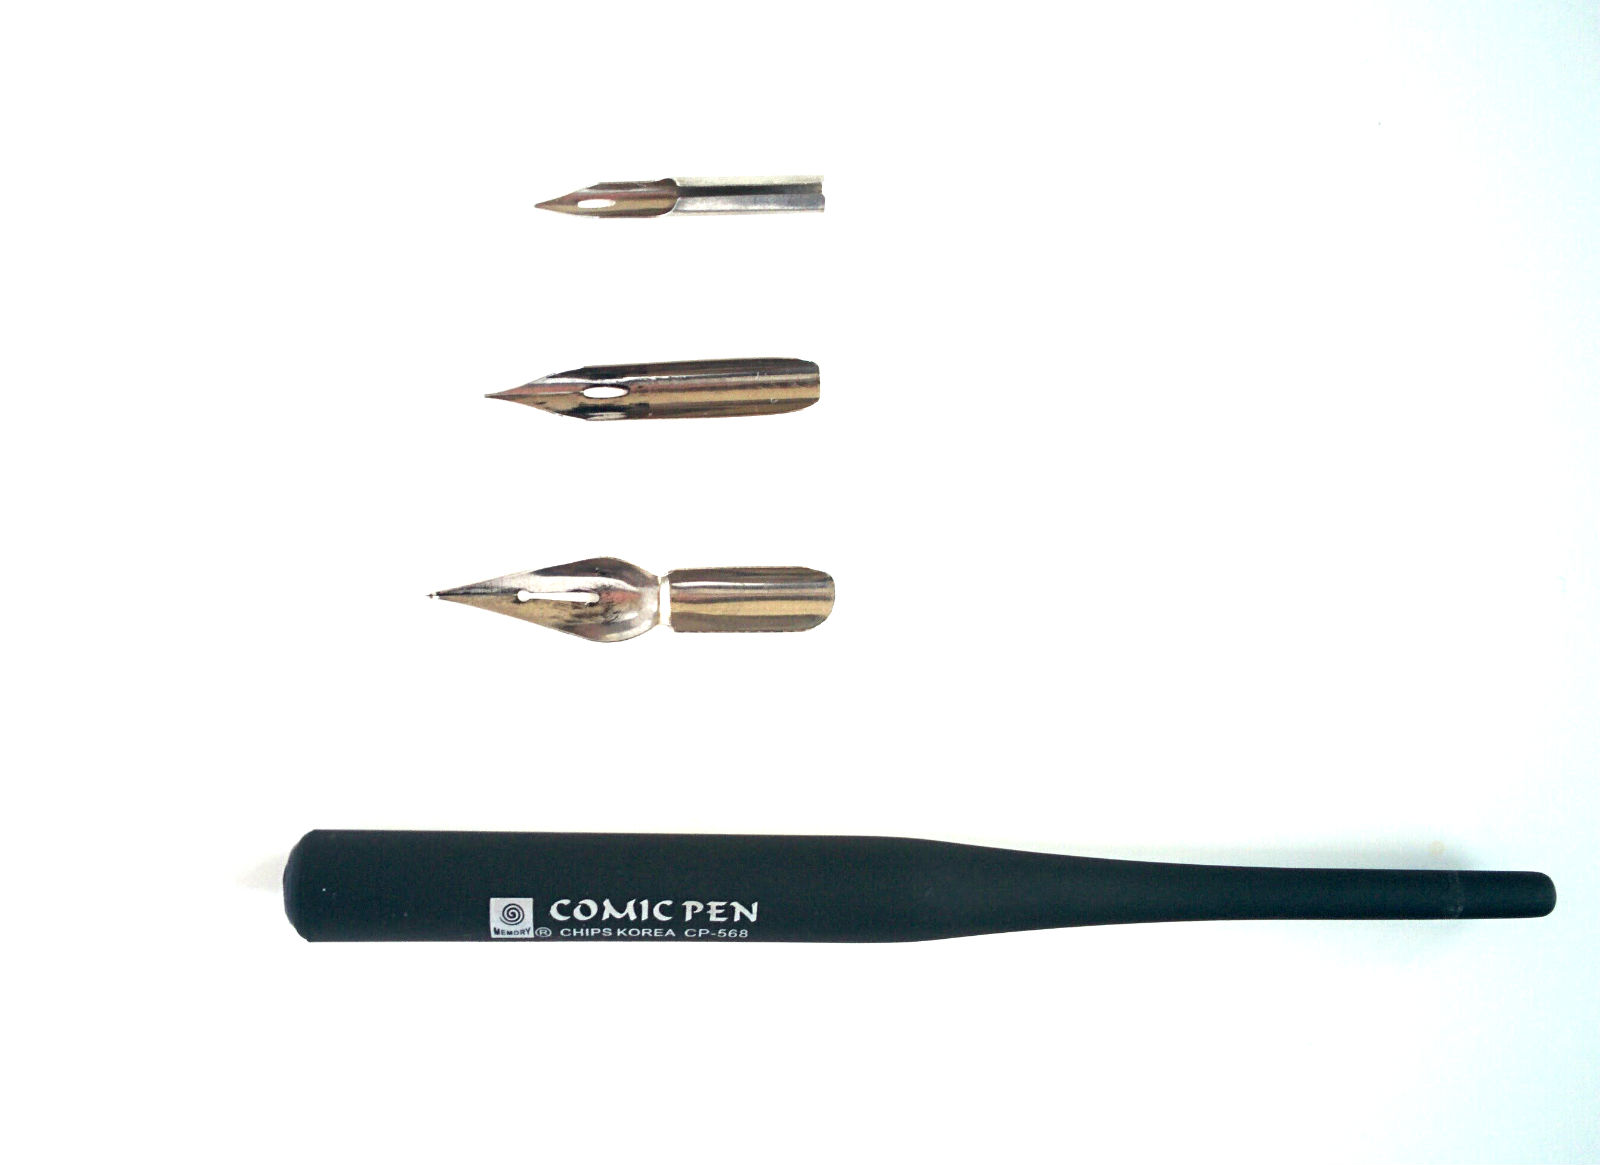 Nib holder with three different types of nibs
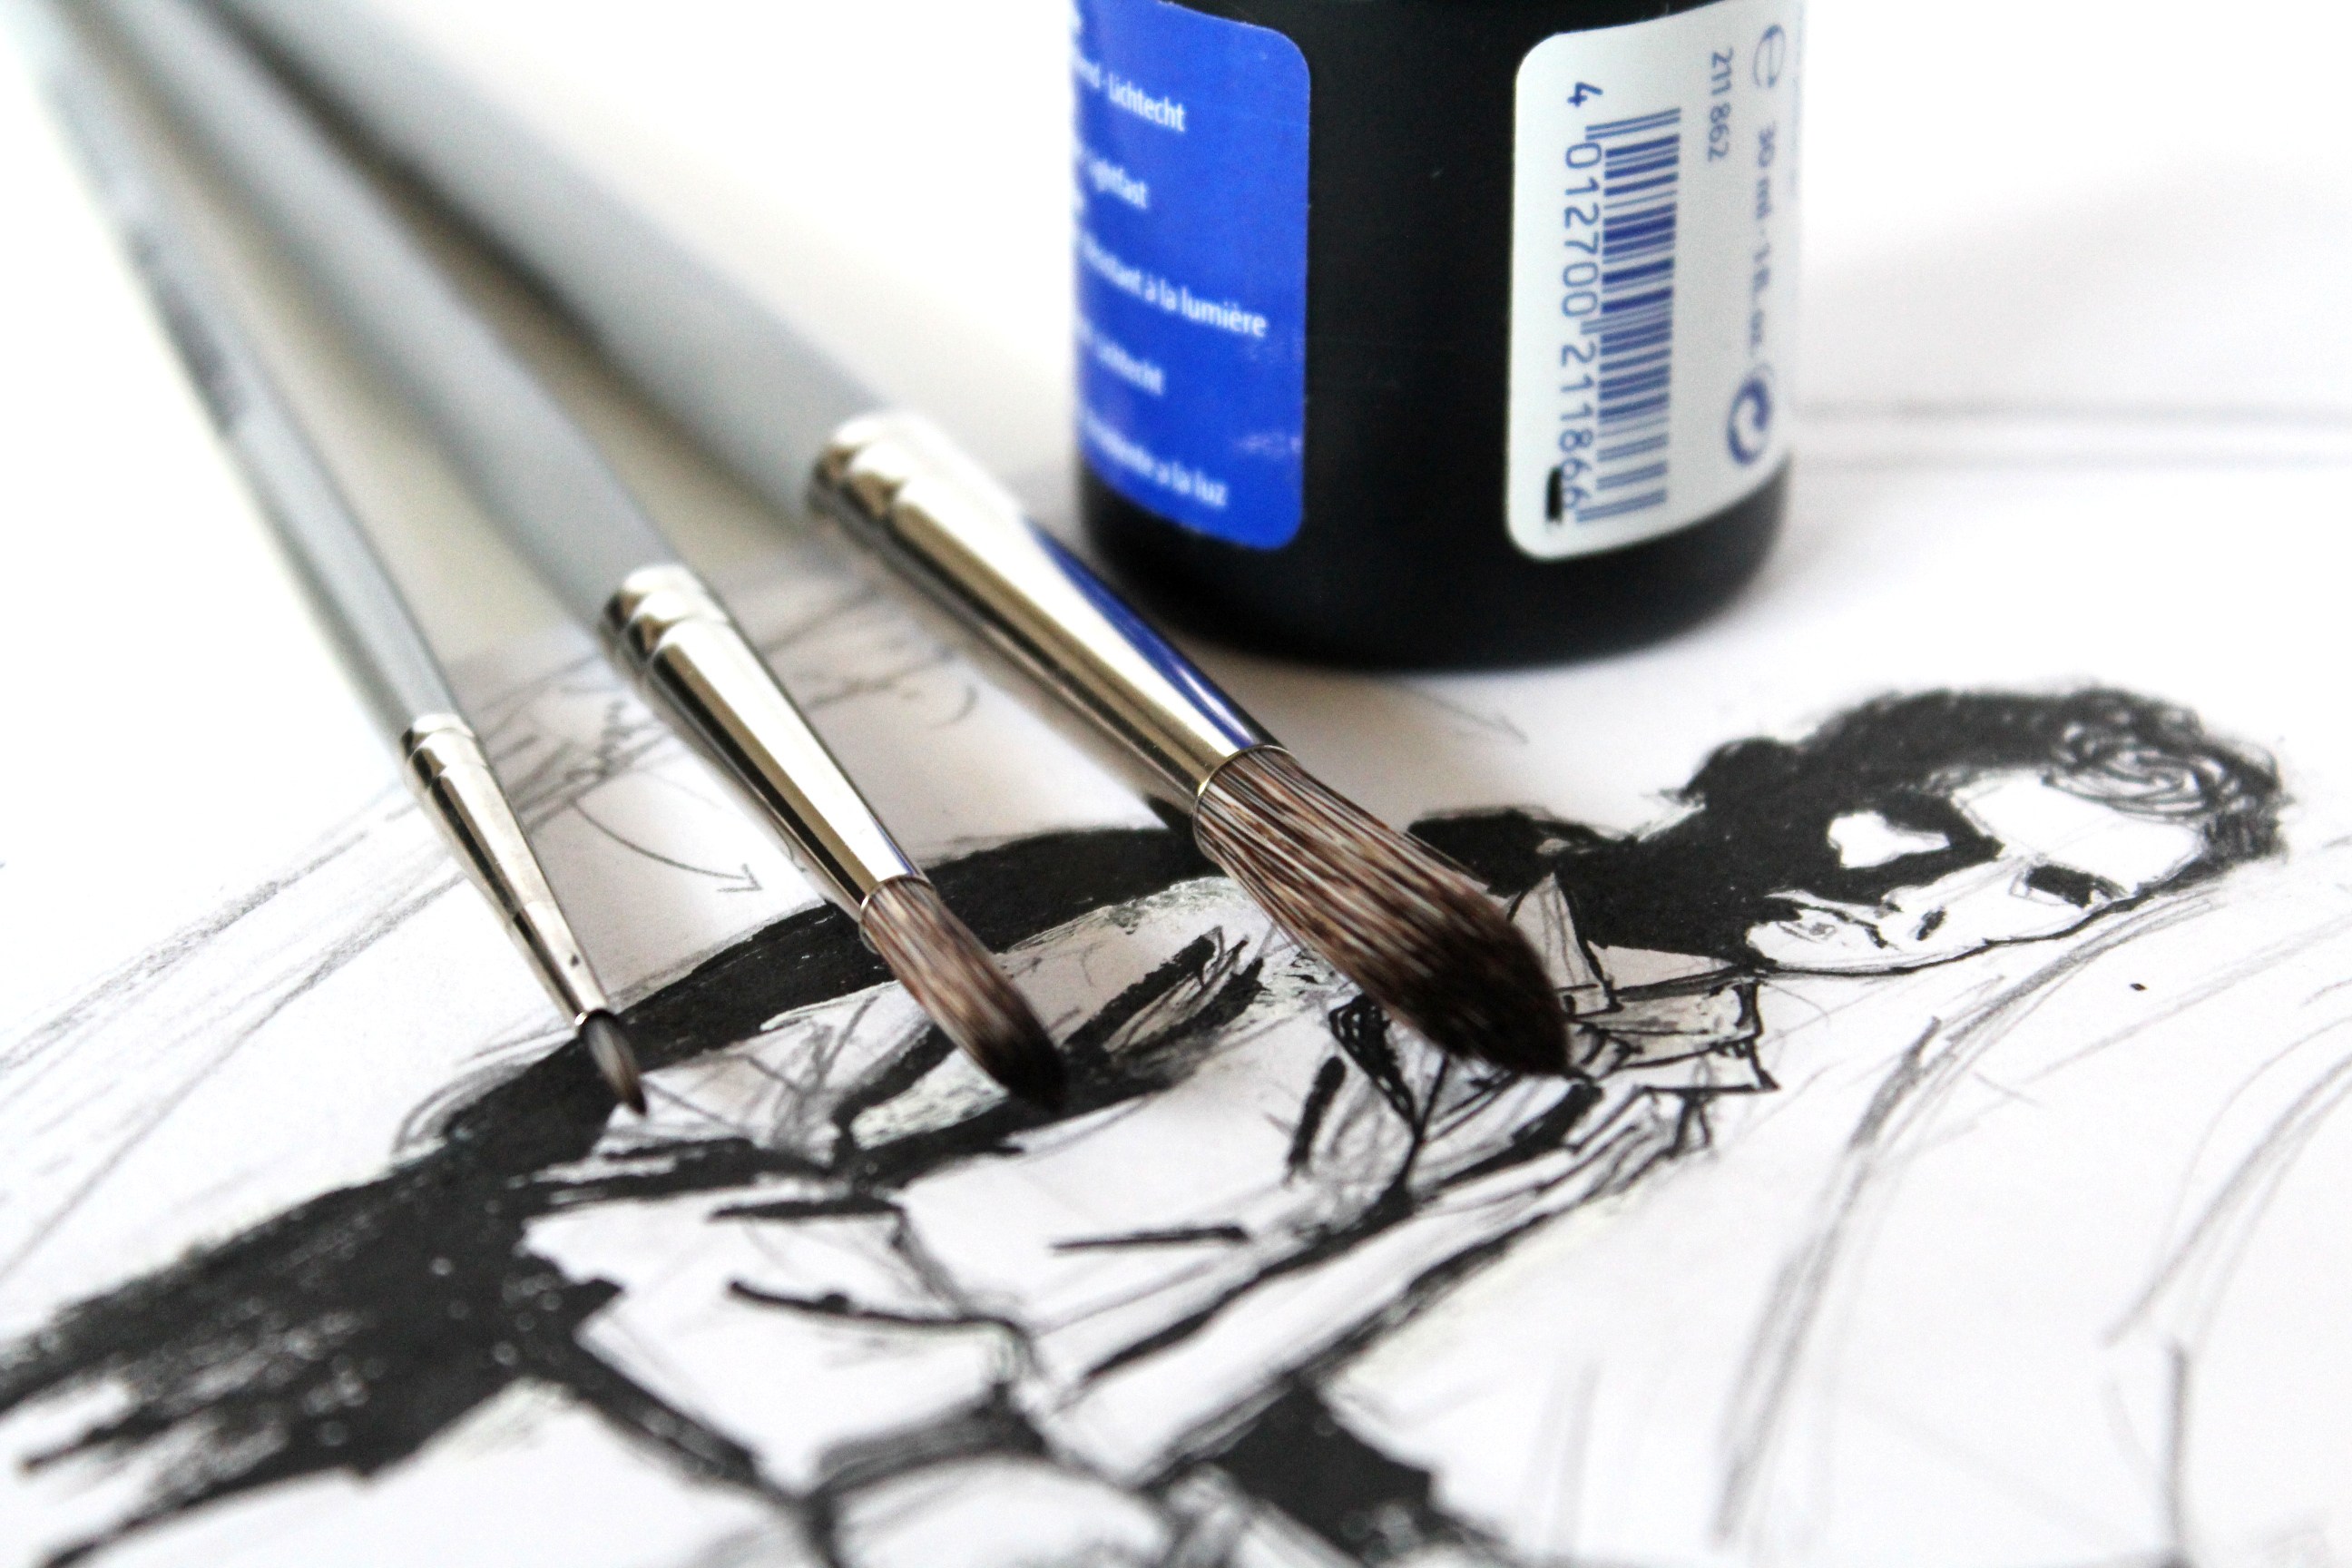
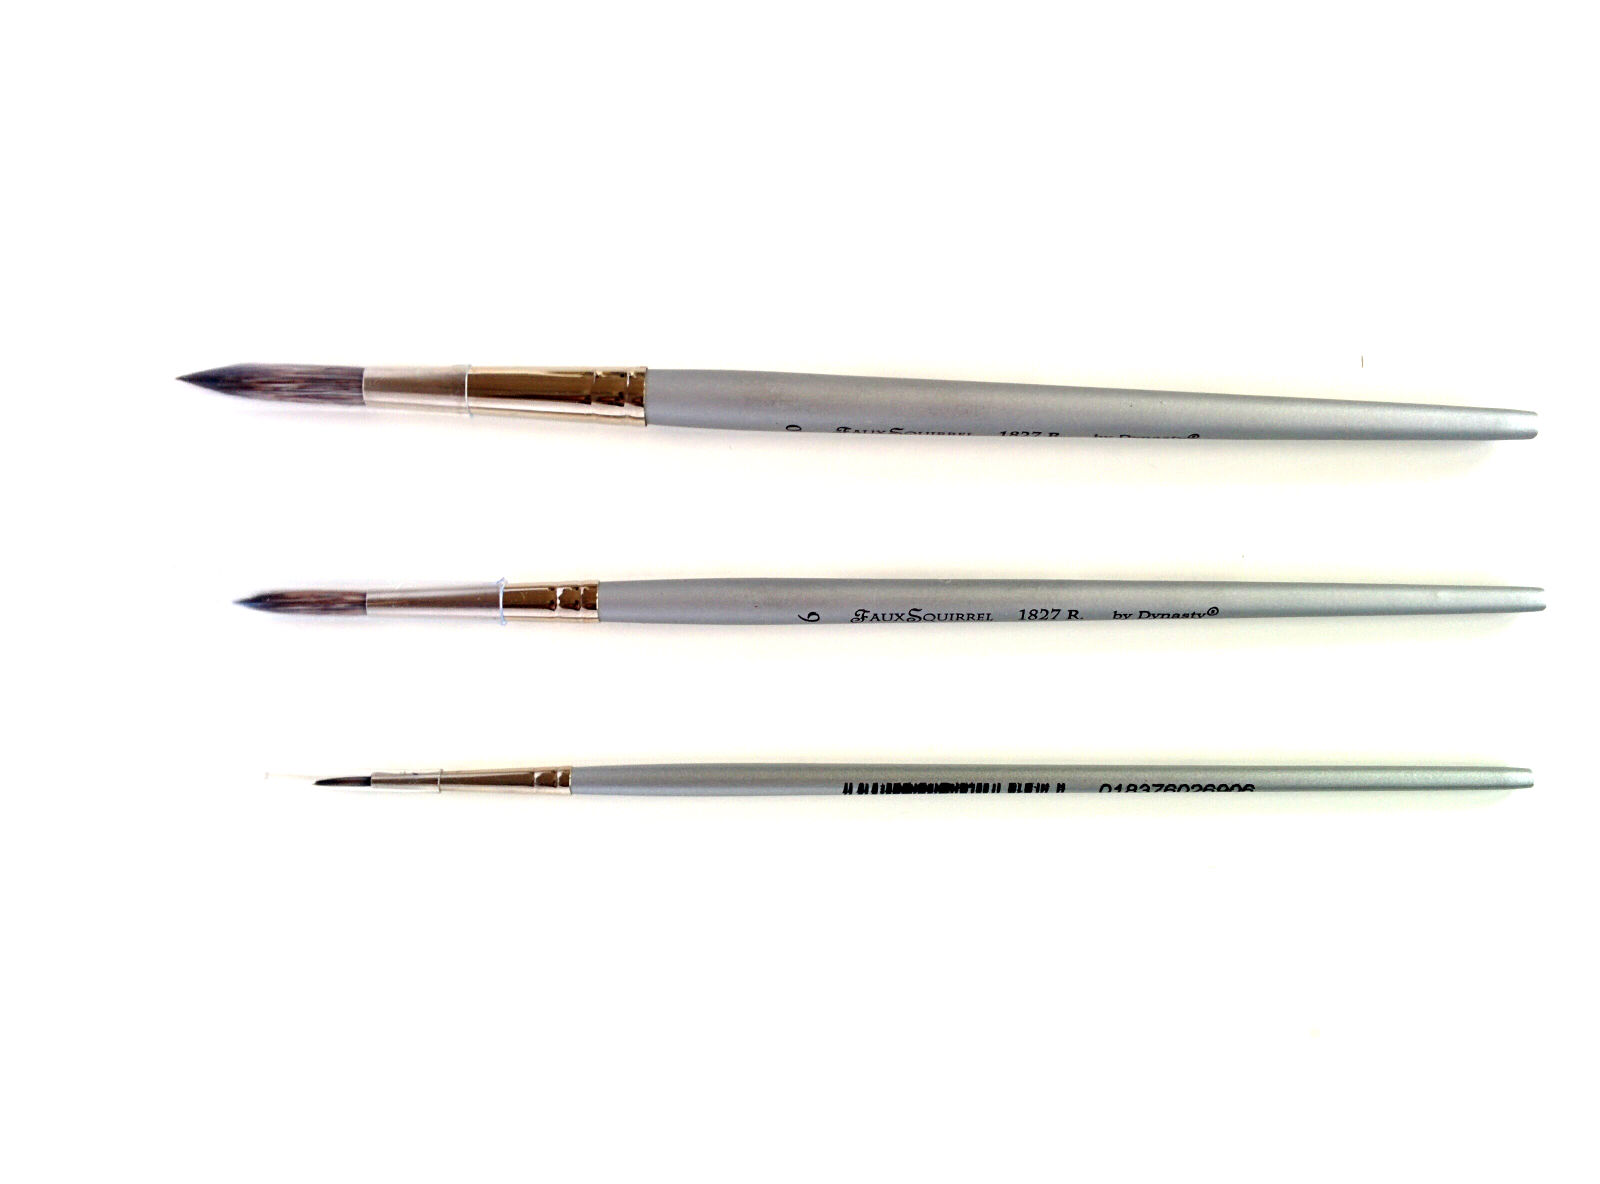
Ink brushes
Ah, the brush - the Rolls Royce of inking tools.
When people talk about ink brushes they usually mean watercolor brushes that happen to be used for inking. The reason you want watercolor brushes is that brushes made for oil or acrylic are much thicker and not as absorbent. With ink you want a brush that ends in a fine point and can hold a lot of liquid.
Watercolor brushes come in different sizes which let you produce lines of different weight. However, itsgreatest strength is that the same brush can produce a much wider variety of line weights than a nib pen, but this also makes the line weight more difficult to control.
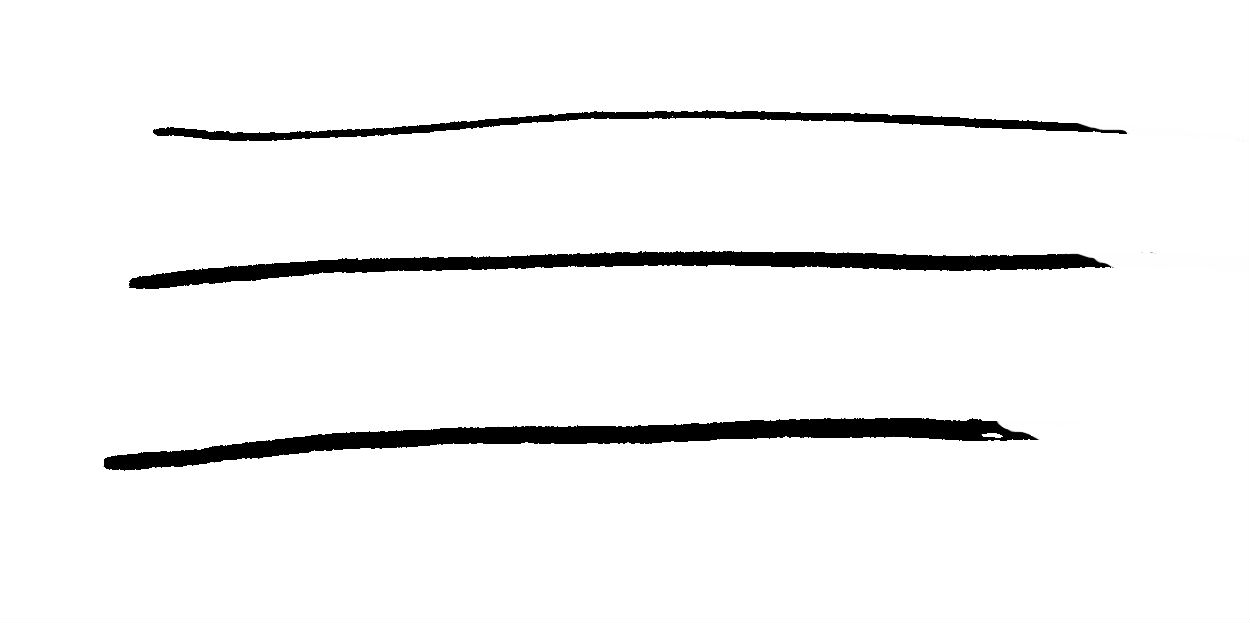
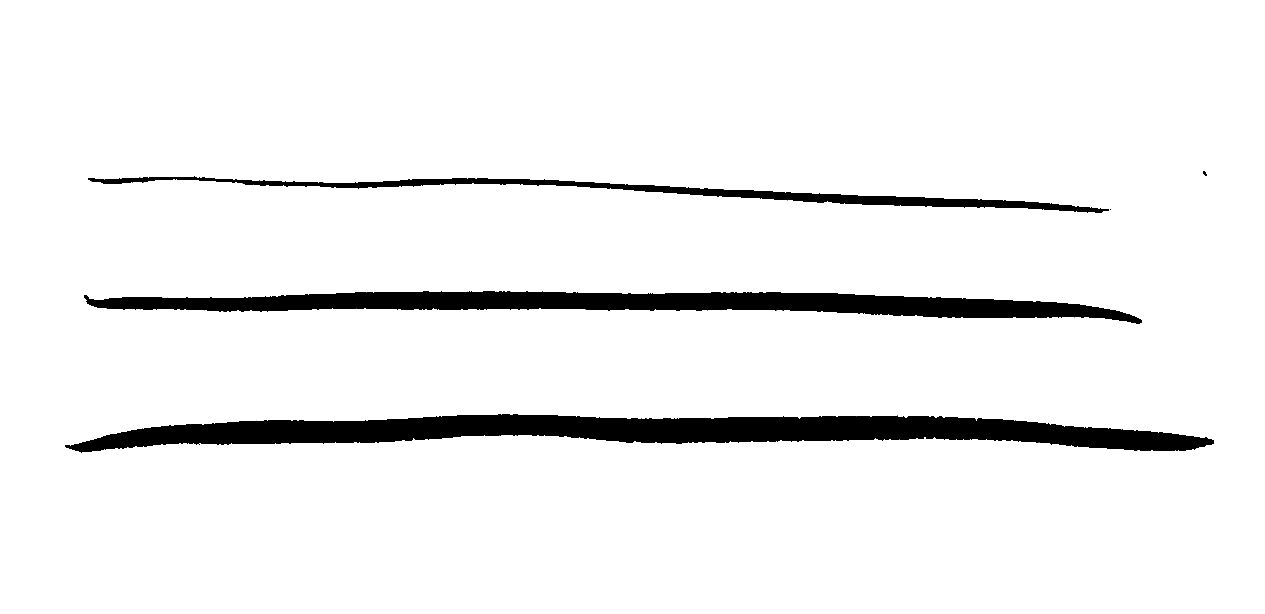 Different strokes from the same brush - check out that line weight variation!
You can also use a brush to get textures you wouldn’t be able to with a pen:“Overfilling” the brush with ink lets you make really round and soft shapes. On the other hand, “underfilling” gives you that “dry brush” effect which is great for drawing hair, wool or other fuzzy things.
There are also brush pens, which have their own ink reservoir. This makes them easier to work with since you don’t need an inkwell, but it also means you can’t control how much ink ends up on the brush.
Which one should you get?
So, what tool should you get? Personally I would recommend starting with a set of fineliners. Even if you migrate to other tools later you can keep them around for when you need a controlled line, such as hand-lettering, drawing mechanical structures or very fine details.
Being a gear nerd I have bought all of them (of course), but to be honest I’m too insecure with both crow quills and brushes to use them on finished work just yet.
A quick tip is that even if your primary tool is not a brush, having one around is pretty useful for filling large areas with ink, which can get quite tedious with a pen. In this case you can complement your other tools with a cheaper model of brush pen, such as the Sakura Pigma Brush Pen.
Bonus Gear
Pencil
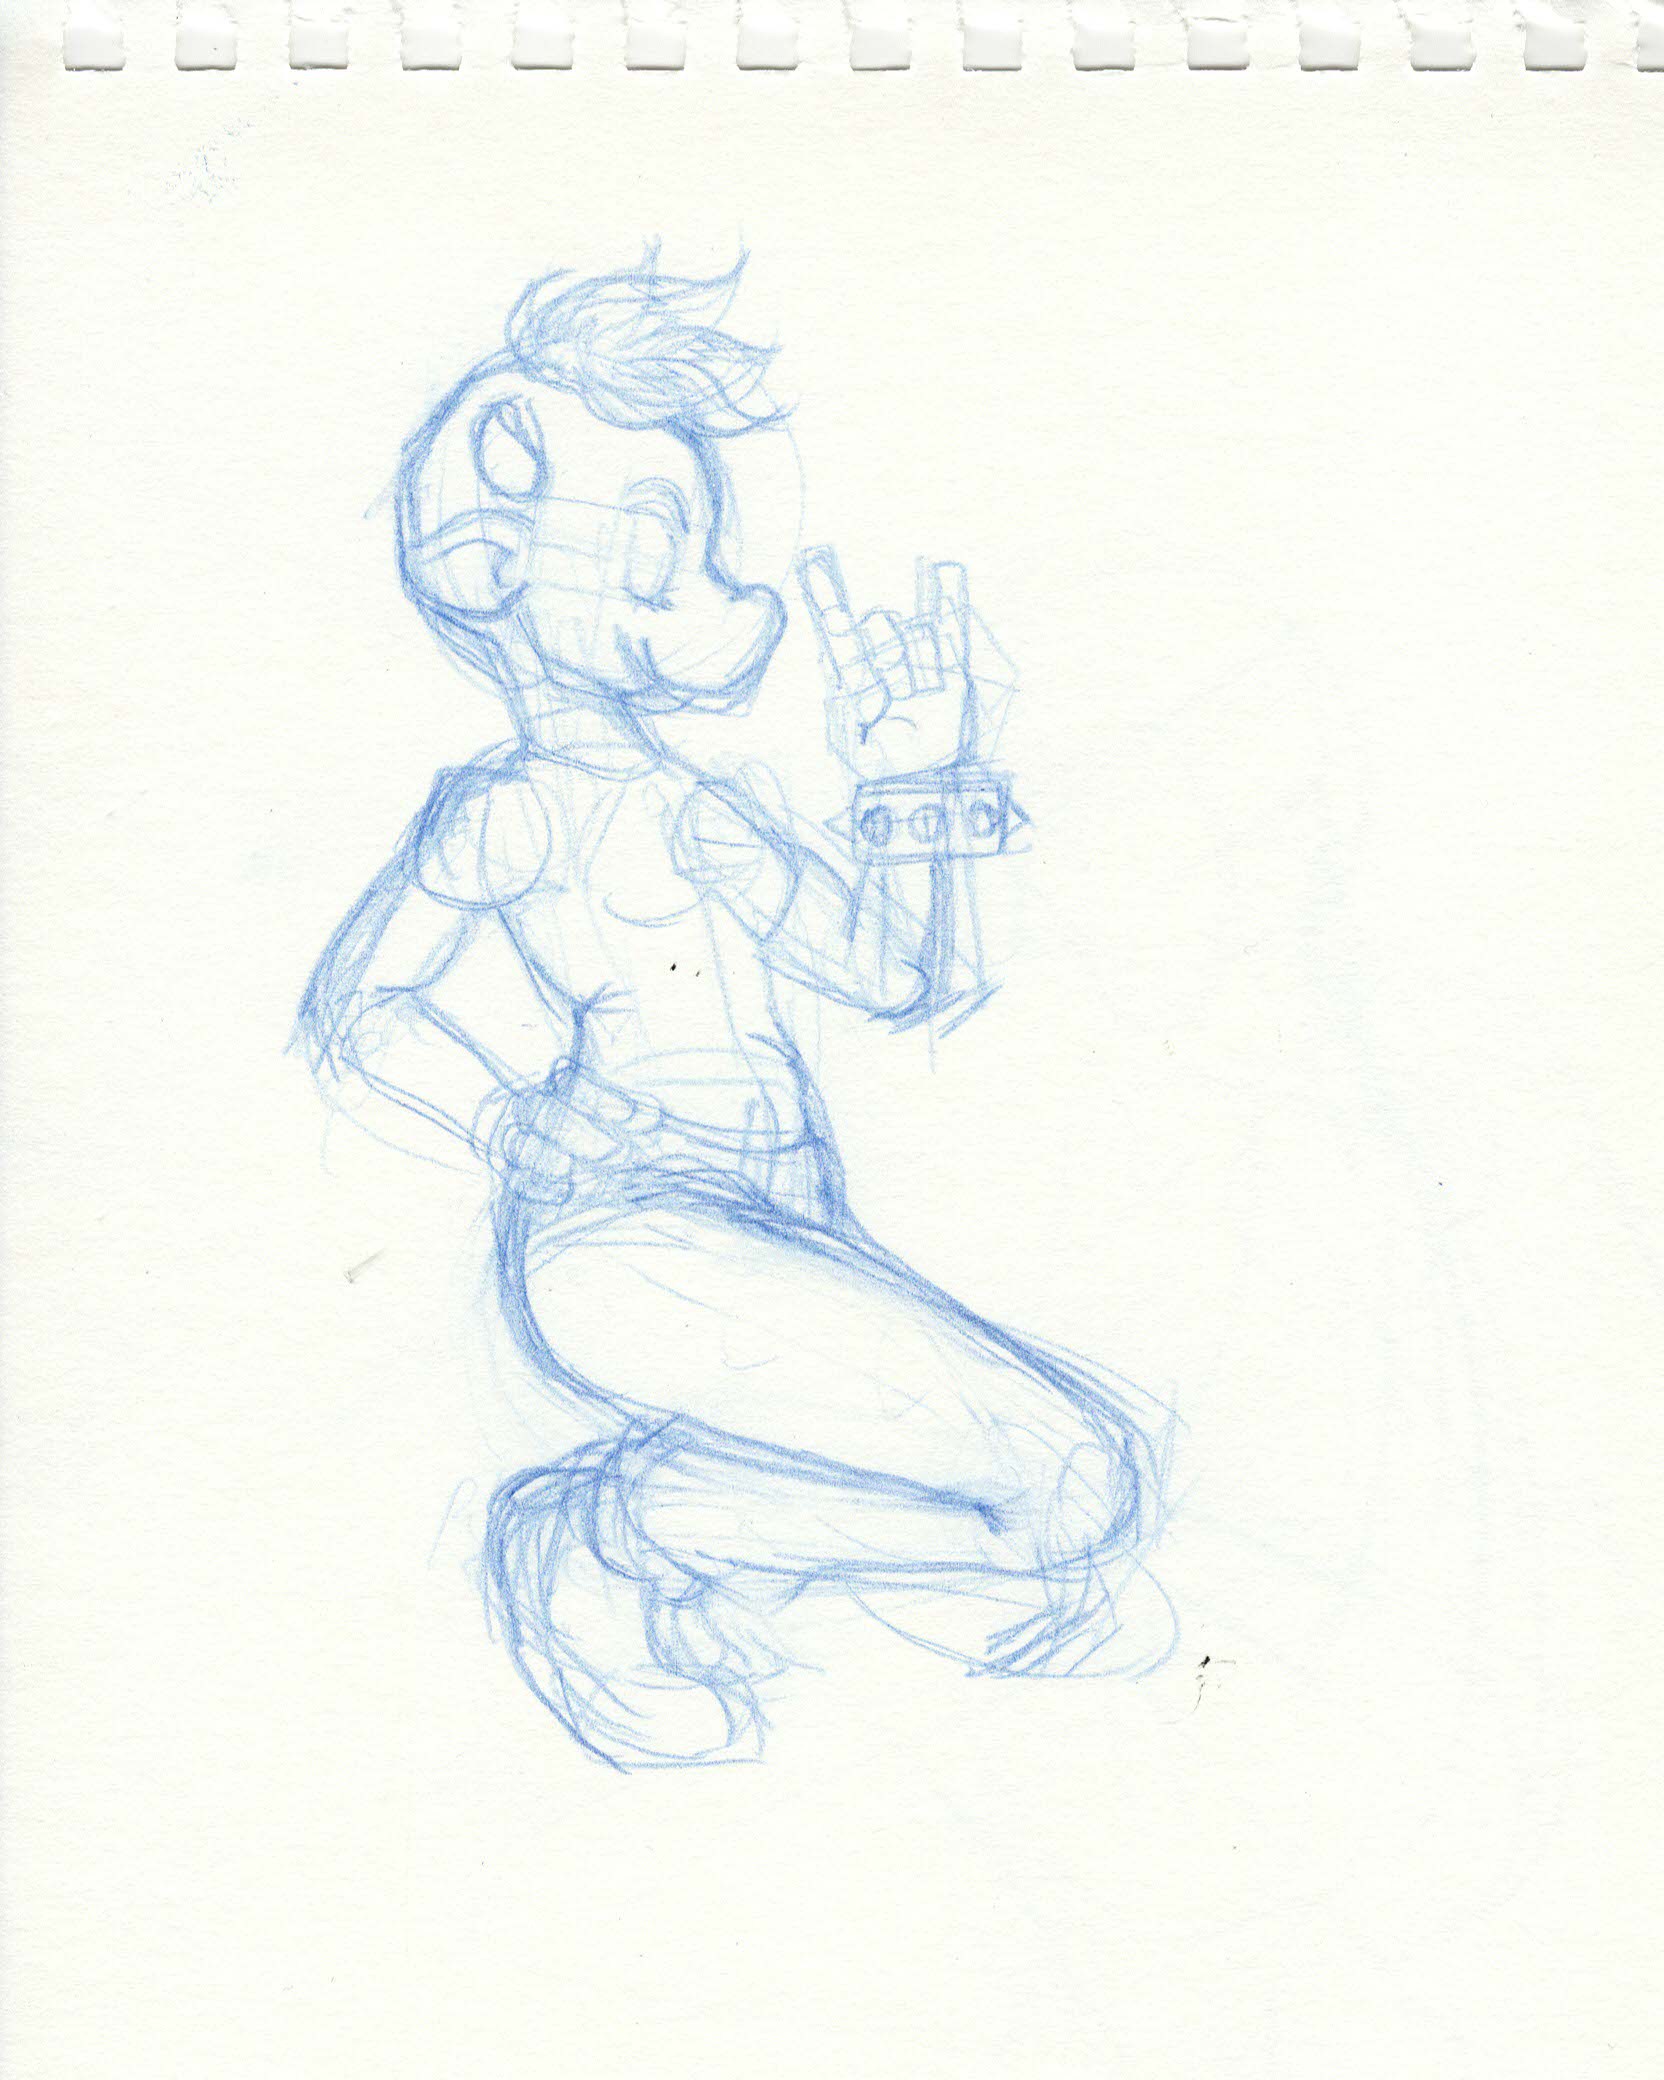
Unless you’re some sort of inking god you’ll probably want to start off with a pencil sketch and then ink on top of the pencils. Starting from a sketch means you can make cheap mistakes in pencil first and avoid expensive mistakes in ink later.
Some people like to use a HB pencil because it’s not too dark and can be erased easily. Personally I like to use a blue pencil for my initial sketch - the blue lines are clearly distinguishable from ink and can easily be filtered out after scanning the drawing.
 |
 |
| Initial sketch in blue pencil | Inks applied over sketch |
Paper
The exact kind of paper you use is not that important, but keep in mind that ink is a water-based medium, so it will warp lighter stock. If you’re using a brush you may want to use paper made for watercolors.
Whiteout / white ink
Even though it’s not as easy with pencil, correcting mistakes in ink is still possible. For this you can use either whiteout / correction fluid or white gel pens. A white gel pen can also be used for adding detailed highlights to your drawing after the ink has dried.
While some mistakes can be fixed with whiteout, there are those which simply cannot be undone. For these cases I recommend having an emergency supply of comfort snacks and a pillow to hit / cry into, depending on your personality.
Additional Resources
That’s it for now! Next time I’ll talk a bit more about inking technique, but in the meantime I’ll give you some links to some useful equipment resources:
Jake Parker’s Inktober Page has a great section on inking materials. Also, if you’re serious about inking, definitely join the Inktober challenge!
JetPens is a great site (perhaps unsurprisingly) for buying pens, but they also have many helpful guides for pens and other drawing tools. Here are some relevant guides from their blog:
Yuko Shimizu’s Mastering Inking class on Skillshare is a great resource for learning how to ink with brushes. In fact, most of what I know about brush technique I learned from her class.
Wrapping up
I hope you enjoyed this post! If there’s anything you’re curious about
- drawing techniques, courses, how to practice, etc - let me know in the comments section and I’ll investigate.
Also, if you want to be notified when I publish the next instalment, sign up for my e-mail list and you’ll be the first to know!