Portrait Painting Process
This is a peek at what my painting process looks like. Disclaimer: I’m not a professional, there’s probably better ways to do it, and I make lots of mistakes.
Read on, if you dare, and imitate at your own risk!
Reference
The first step of my process is to find something to paint!
I’m a Pinterest user (read: addict), so that’s where I usually go to find reference.
I want something that’s inspiring, but it should also be a good photograph. I try to avoid flat or overexposed images, or photos that are too low-res.
A tip: Remember that Pinterest doesn’t always save full-resolution images, so try to find the original image if you want the highest resolution possible! Most Pinterest pins link directly to the page the image is taken from, but you can also use Google Reverse Image Search to find the source.
Finally, try to credit the photographer! The reference photo I used for this painting was taken by Raul Romo and the subject is none other than Sofia Arellano.
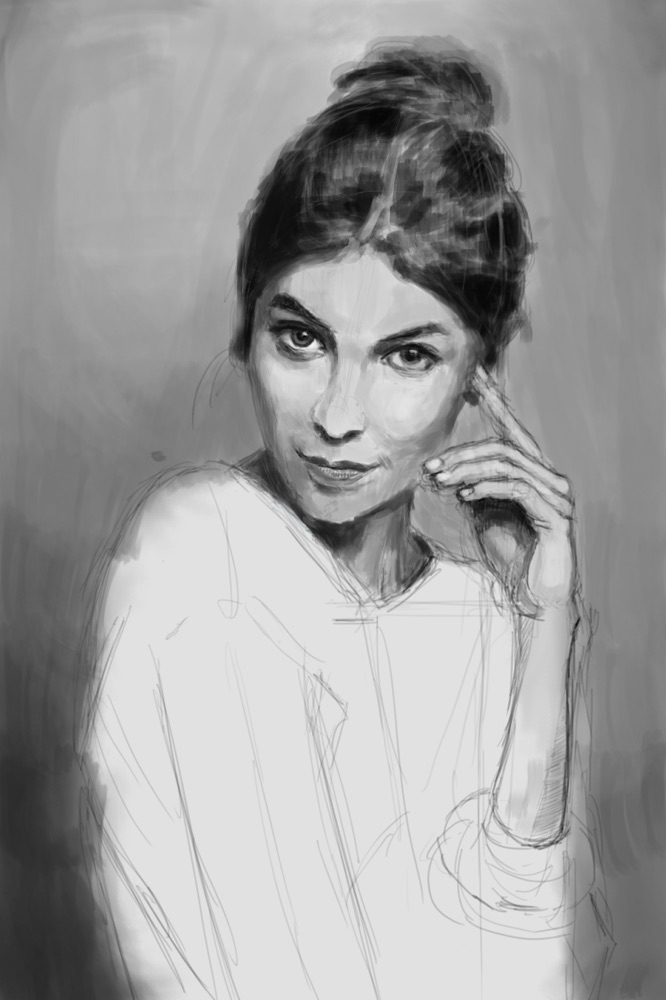
Sketch
The second part is the sketch. For this part I don’t really have any particular process that I follow; I usually start with sketching out the larger shapes (e.g. an egg for the head shape, etc).
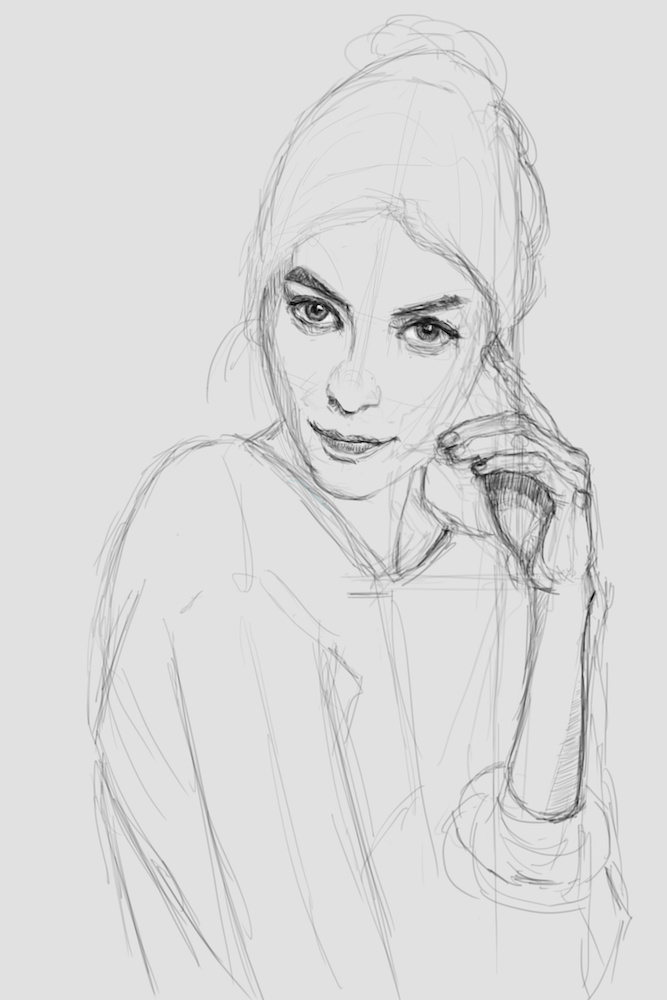
One thing I’ve learned is that it really pays off to measure a lot! I use my pencil or some other tool to measure the distances between different landmarks on the body, e.g. the distance between nose and chin, distance between brow and hairline and so on. To bastardize a bit of sales jargon: Always Be Measuring!
I also sketch in some values at this stage—I’ve added some white to her eyes and hatched in some shadows on her chin, for example. The reason I like to do this is it gives me another set of landmarks I can use for measuring.
I probably should’ve probably made the sketch a bit tighter. For example, I was too lazy to really commit to the shape of the hand in the sketch, which is a mistake I make all the time.
A sketch can be loose, but it shouldn’t be ambiguous! I think I need to get that tattooed on my forearm.
Value painting
Now for the fun part, where we get to take out the paints! (Or at least get to press the “Paintbrush” shortcut on your keyboard)
One thing I’ve picked up from the Realistic Portraits course is to not zoom in too soon! Instead, zoom out and block in the basic values, using a big honkin’ brush. Keep your reference next to your painting and squint to help you see the differences in value more closely.
Block in background
I start by blocking in the background. This is important to get the rest of the values right later; if the background is too light it will trick you into painting the rest of the values too light as well.
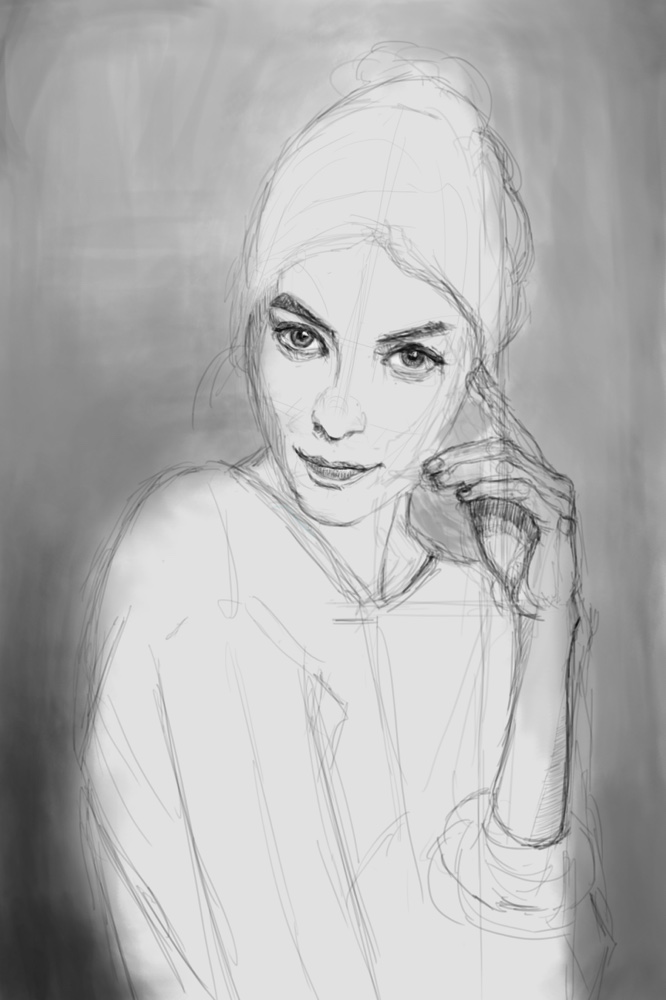
Block in values
After the background is done I block in the basic values. At this stage I just want to capture the basic shapes. It’s no use getting caught up in details at this stage, so I still work quite zoomed out.
I also try to squint a lot during this stage—once you can’t really distinguish between your painting and reference when you squint you can zoom in a bit and work on the next level of detail.
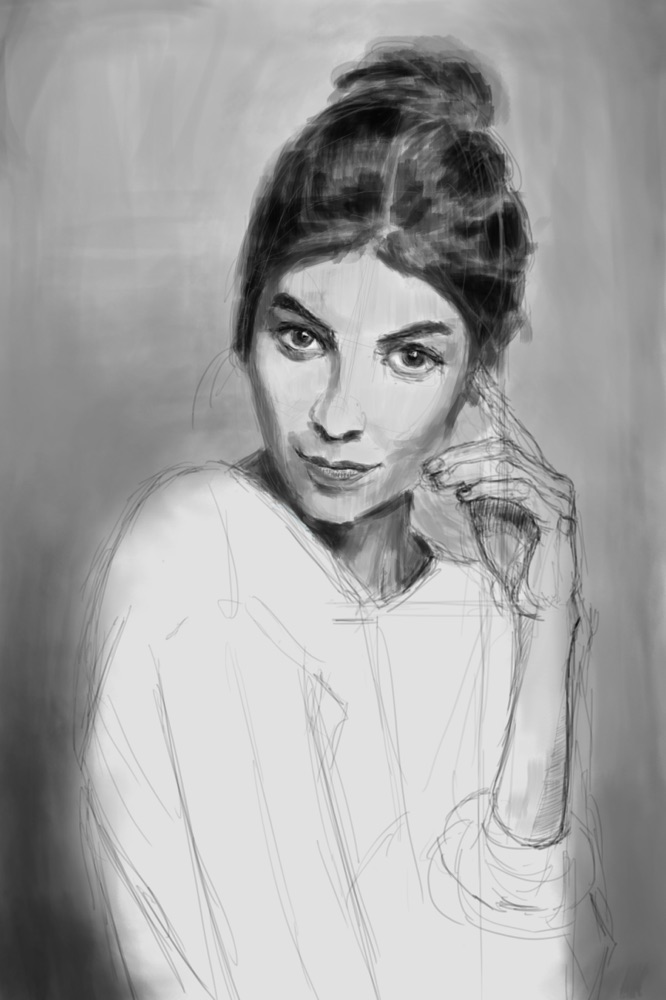
Details
After the initial block-in I start adding some more details. I also noticed that the background was way too light, so I made it a bit darker. Her left eye also needed some adjustment.
The rest of the painting process basically goes like this:
- Squint and block in
- Compare the reference and your picture. Do they look the same?
- If yes, zoom in and go back to step 1.
- If no, keep painting
Troubleshooting
Sometimes it can get hard to spot the differences between your painting and the reference. Unfortunately, this is usually not due to the fact that you just happend to create a perfect copy of your reference. Most of the time it’s because you see something is wrong but can’t spot what.
I’ve got a bunch of tricks I like to use, like:
-
Flipping the canvas horizontally. This makes errors pop like corn kernels in a fire. Create a keyboard shortcut for this in your painting application (if there isn’t one already) so you can flip back and forth quickly.
-
Zooming out. This is like computer-assisted squinting. I really should remember to use this more often.
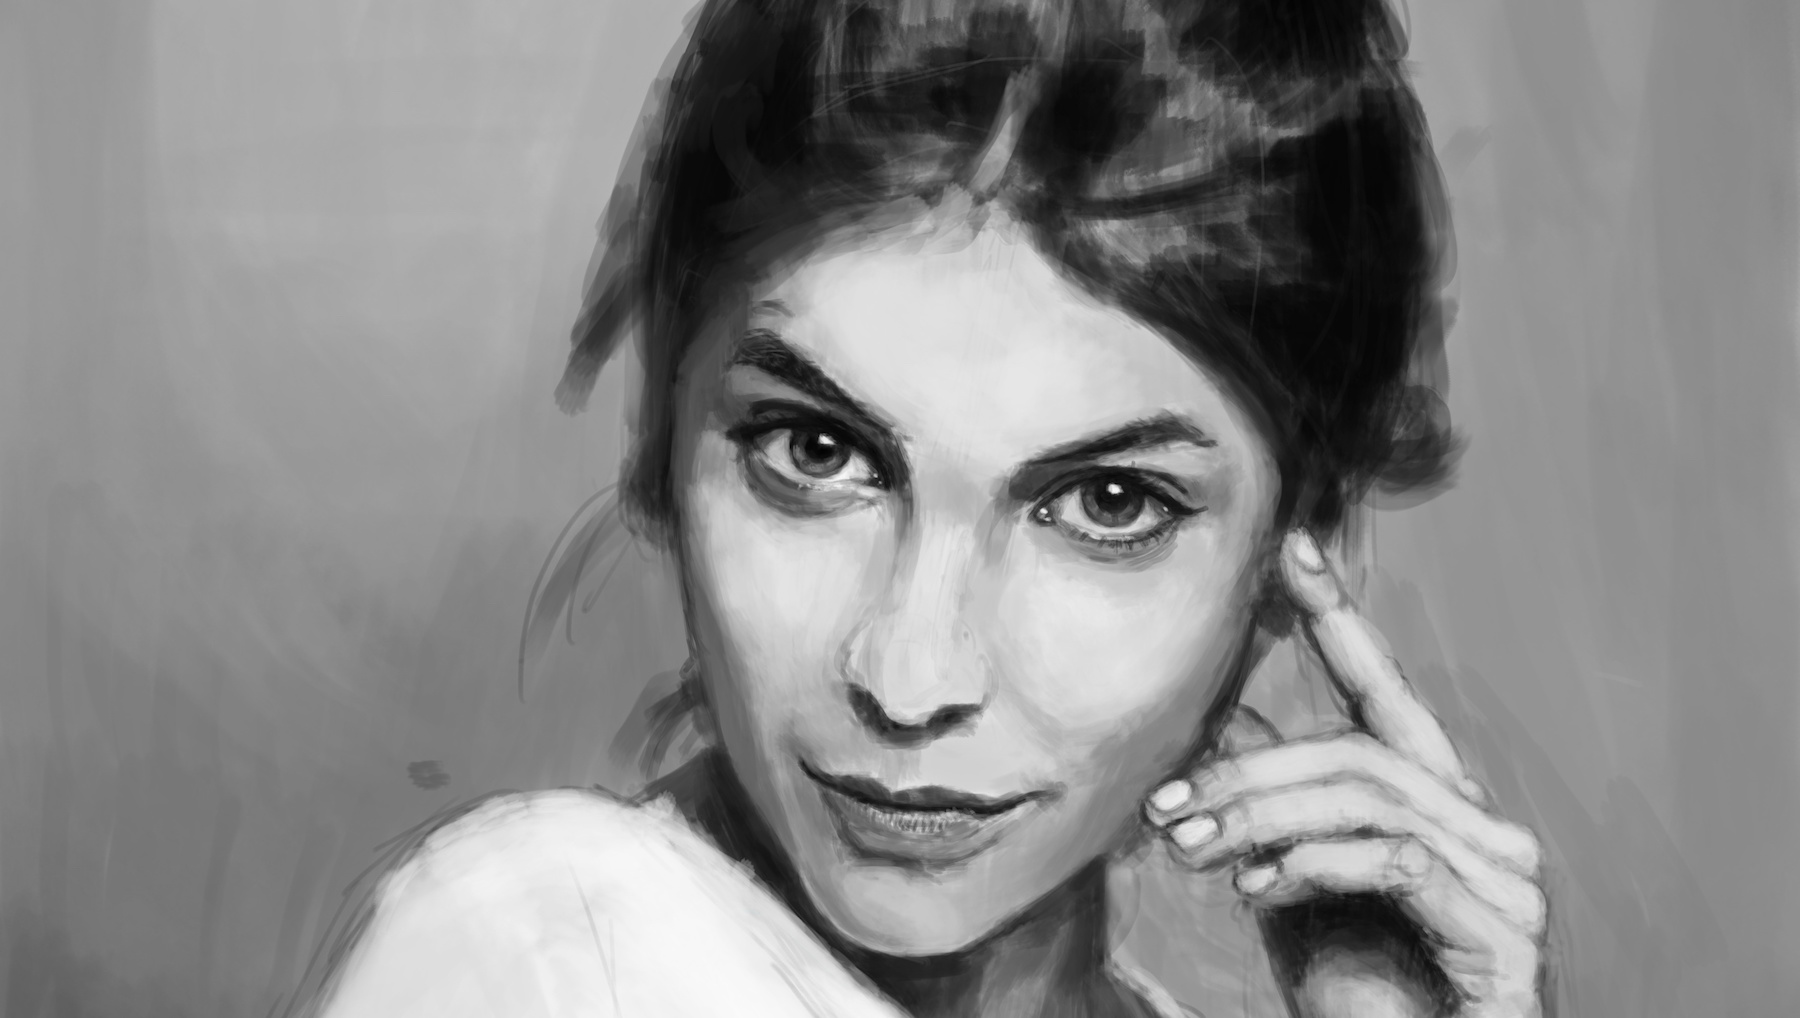
Finishing up
At this stage it’s just a matter of adding details and fixing errors until you’re happy with the painting or completely sick of it 😅 Anyway, this is the finished product:
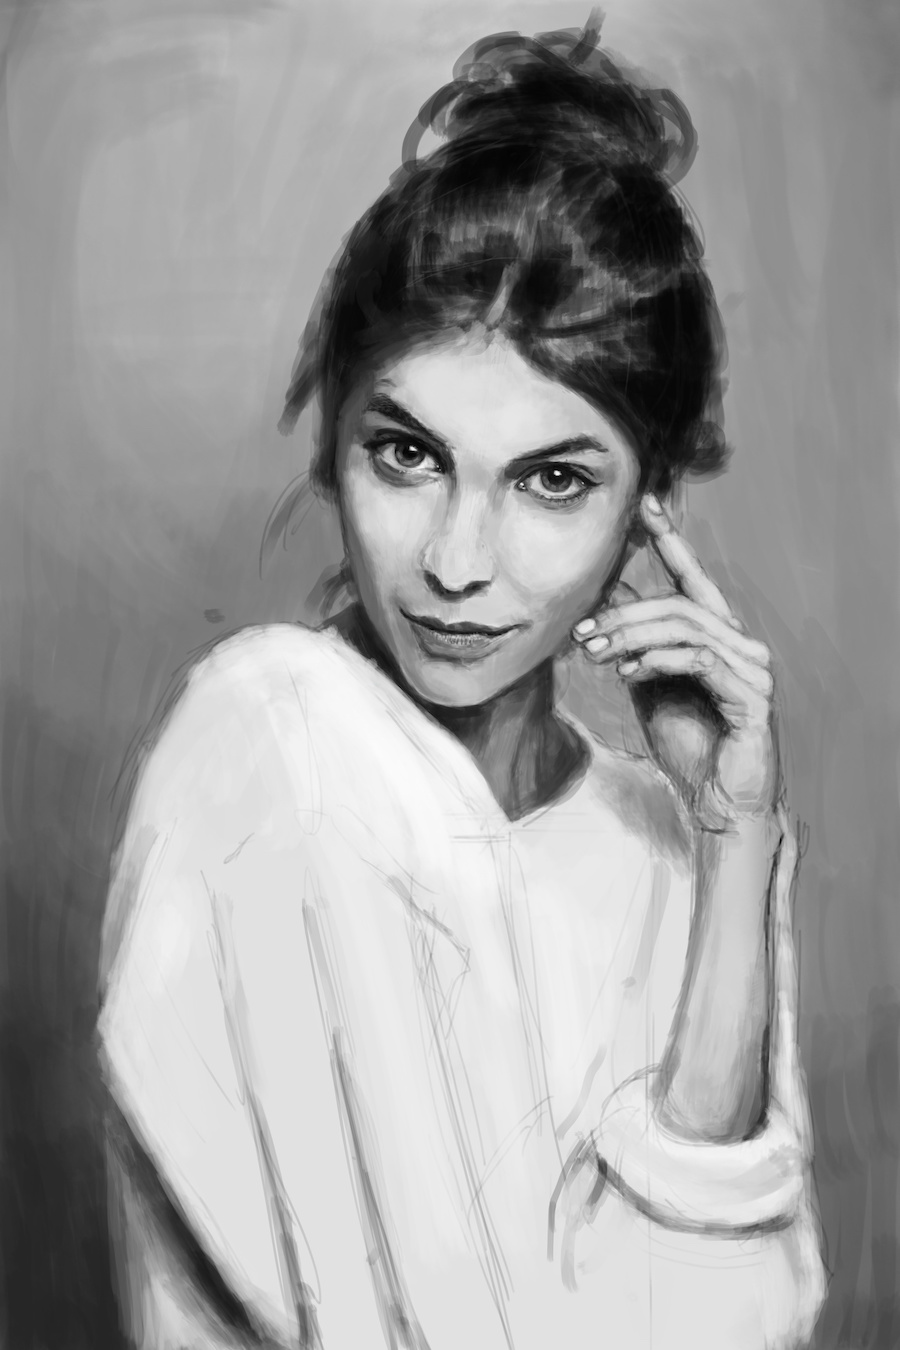
There are some things I’m not completely satisfied with; I could’ve spent some more time on rendering the hair, and the hand has some cartoony outlines that I don’t like. But overall I’m happy with the result!
If you want to see more art from me, check out my Instagram account at @drawnbychris! Also, if you want to get better at painting realistic portraits I can highly recommend Jason Seiler’s Realistic Portraits course, which I’m taking right now.
Hope this post was helpful and / or entertaining! If you’d like more of this sort of post (or less!) please let me know in the comments section below!